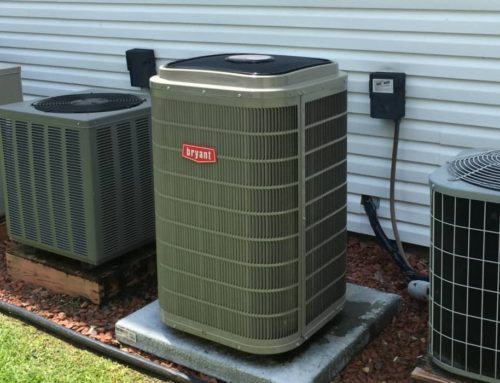
It is entirely possible to refill Freon (best type of coolant available on the market right now!) by yourself, but you’ll have to have at least some rudimentary knowledge about A/Cs, along with several instruments.
Where Does One Buy Freon?
You can obtain coolant via various online stores, including eBay. You can also find it at your local Walmart, hardware store or multi-purpose supermarket.
There are some things to keep in mind, including:
* Environmental Protection Agency Restrictions
It’s a big one, but it’s not a deterrent. You can purchase 2 pounds (or less) cans of coolant without being certified. Keep that in mind before you plan your trip to the store. You can find additional information regarding that online because the above statement is only true at the time of writing.
* R-22 or R-410A?
If your A/C was manufactured prior to 2010, the chances are it’s going to require R-22. Just to be extra-sure, you can read the information from the manufacturer before purchasing Freon. It usually can be found in the user manual.
* A/C Leak Repair Quick Service Kit
If you don’t have one, get yourself one. Coolant leaks are no joke. This is one of the tools that works amazing for beginners, so you really need to get yourself one. Once again, we don’t really advocate you undertaking this task on your own.
How to Refill Freon in Your A/C Unit
 We’re going to mention something very important upfront – changing coolant on your own could be incredibly risky, so get professional help in case you’re not 100% sure you’ll be able to handle the process. Begin by pinpointing the problem to make sure low coolant is the main culprit. With that verified, be sure to clean the interior of your A/C unit before proceeding any further. You’ll need a manifold gauge set with three valves and a container of R-22 or R-410A coolant to for the task at hand.
Step 1: Pinpointing the Problem
1.1. Check for outlets blowing hot or room temperature air.
Essentially, that’s concrete evidence that your A/C needs a refill of coolant. Nevertheless, a faulty thermostat might cause the same exact issue. If the coolant is at fault, the air temperature will progressively grow hotter over time due to the A/C gradually losing coolant.
1.2. Look for frost on the coils.
In case the coils seem frosty or covered in ice, that can only mean that there’s been a leakage and the unit is gradually losing coolant. Before you refill the coolant, be sure to repair the leak to avoid further damage.
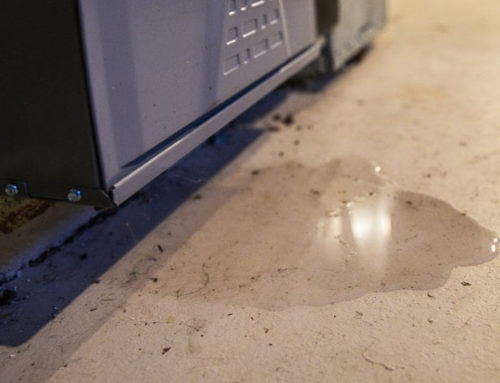
1.3. See if there are any water next to your unit.
If water accumulates underneath your unit that means that the core was covered in ice and now after it’s melted, water started dripping excessively.
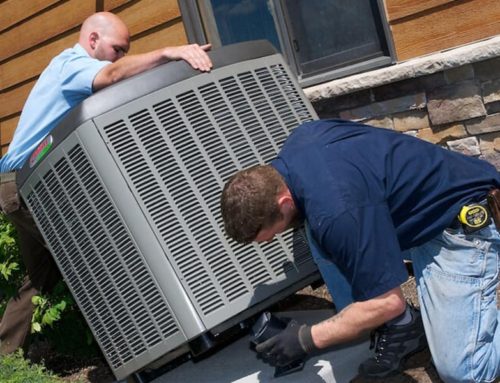
1.4. Call an Ace Air technician to repair the leak
In case your unit needs to have coolant refilled, it’s probably leaking. You need to address the leak as soon as possible, even before you attempt to add Freon to your unit or otherwise you’re risking costly repairs in the future.
Step 2: Preparation
2.1. Call Ace Air to clean your unit before you add more Freon.
Air filter, blower wheel, evaporator coil, and condenser coils all have to be 100% clean before you refill the A/C unit with more coolant.
2.2. Pick the right kind of coolant.
As mentioned before, you’ll have to see whether your unit requires R-22 or R-410A. Adding the incorrect coolant to the unit can cause a house fire, injury, and property damage.
2.3. Protect yourself.
Wear protective glasses and gloves while handling coolant. Never directly breathe in any coolant; doing so can get you killed right away.
2.4. Make sure that the temperature outside is above 13 °C.
If the outdoor temperature is lower than that, coolant won’t behave properly.
Step 3: Refilling Coolant
3.1. Consider letting professionals handle it
It’s highly recommended that a certified technician add coolant to your A/C. The process is extremely dangerous and, if done improperly, could cause damage to the air conditioner, explosions, property damage or, worse of all, permanent harm to your health (sudden death is also likely). Exercise extreme caution if you decide to do it by yourself.
It’s not too late to give Ace Air a call, though. Contact us at 714-786-8225 instead of putting your life at risk.
3.2. Turn off any power that might come to your A/C unit
3.3. Connect HVAC gauges to the valves.
If you look closely, you’ll notice that there are three valve connections – one’s to your right and one’s to your left. What you have to do is attach the HVAC gauge to the blue one on the left side and do the same for the red/right one next. For now, you’ll need to leave the center valve open.
3.4. Turn on the air conditioner and wait 20 minutes.
That’s the approximate amount of time it’d take for the unit to stabilize itself. You won’t be able to get a truthful reading until the unit stabilizes itself.
3.5. Open up the coolant canister.
You’ll need to attach the yellow hose to the coolant canister before attaching the other end to the middle valve of your HVAC gauge.
3.6. Open the blue valve.
Only for 2-3 seconds. Then you have to open it for 2-3 seconds again. You’ll have to keep on doing this a couple more times to slowly add coolant to the A/C before it reaches your desired undercooling temperature.
3.7. Pay close attention to the gauge until it reaches the desired subcooling temperature.
3.8. Turn the blue valve all the way off and disconnect your HVAC gauge.
3.9. Use an electronic refrigerant leak detector.
You can purchase one at your local hardware store. In case you don’t feel 100% confident in your abilities to perform this kind of test, we suggest calling professional help.