In case you are 100% ready to substitute your previous thermostat with a shiny new one, our small article is sure to help you make the upgrade process a smooth one. Most of the tips come from the unlucky people that tried to replace a thermostat on their own without having the wherewithal to actually do it, so you have a chance to learn from someone else’s mistakes. The rest of the tips, by the way, come from our 20+ year old experience working with all types of HVAC units.
Thermostat Replacement Preparation Checklist
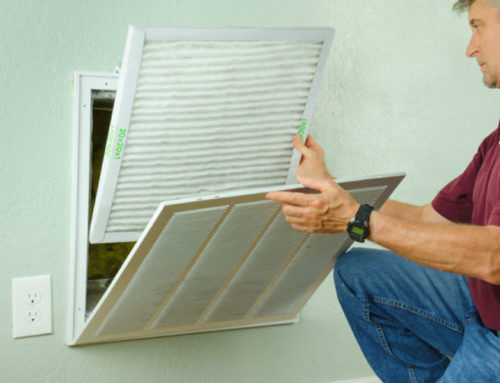
#1. Make sure your system is a low voltage one
Most new thermostats (including the ever-popular Honeywell thermostat) are only suitable for low voltage systems, due to them being automatic/smart.
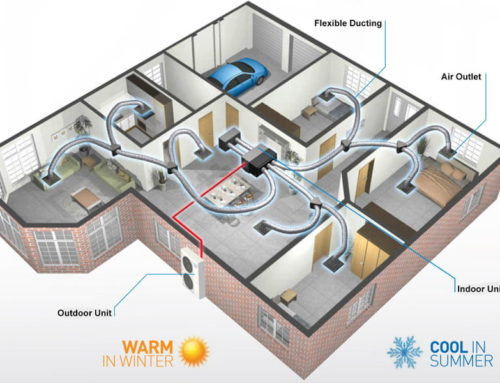
A low voltage system is oftentimes referred to as «central air.» How to spot a low voltage system? Tell-tale signs include: having a singular thermostat that controls all HVAC devices; it having threadlike and colorful wires.
#2. Find out whether you have enough wires
Some older thermostats don’t have the common wire, which makes it harder for you to replace it with a new one. Still, you can find a new thermostat that doesn’t need a common wire or purchase an additional adapter.
#3. Photograph your current thermostat’s wiring
You have got to use your smartphone to your advantage. Please, be sure to not skip this step or quickly snap a few blurry pictures just to get this over with. In case something happens to go wrong, you’ll have to rewire the old thermostat to avoid calling support.
#4. Think of what happens to the wall
Maybe your new thermostat is bigger or smaller. Maybe you’ll require wallpaper restoration after it’s all said and done, maybe colors don’t match. There are many things to take into consideration here!
#5. Make sure you have a wire cutter/stripper at the ready
This goes without saying: wires that you’ll have to deal with are incredibly delicate and easy to break. If you happen to snap few tips off, you’ll have to make new ones and that’s exactly where a wire cutter or a wire stripper will come in handy.
#6. Make sure you don’t actually need help
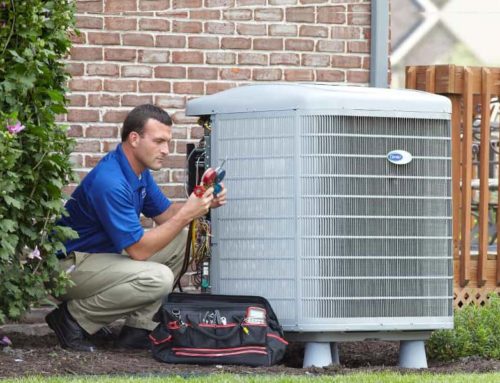
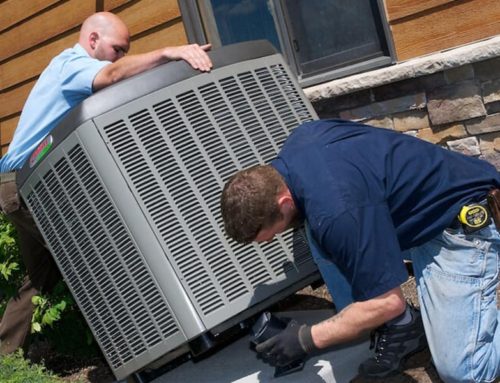
Professional HVAC technicians will make short work of this thermostat replacement. They’ll run a test on your HVAC system, they’ll add a common wire if it’s needed, they’ll relocate your thermostat, and do all the required work/testing for a very reasonable price.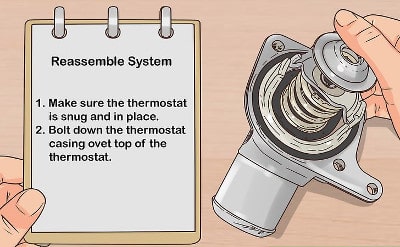
Thermostat Replacement Step by Step Guide
#1. Turn Off the Power
Go to your breaker box and flip all the switches. Turning off the unit itself is a less time-consuming option, but it’s also a riskier one. Make sure the power stays off for the entire duration of your work.
#2. Remove Your Old Thermostat’s Face Plate
It’s pretty easy to do, you might not even need a screwdriver here.
#3. Photograph the Wiring
It was mentioned above, but this is a key step, so it bears repeating. Just in case something goes awry, you need to make sure that you can rearrange the wires to their old positions. Nobody wants to admit their «defeat,» but you just have to have a back-up plan for everything.
#4. Remove Wires
It depends on the type of thermostat you were using, but you might need a small screwdriver. There may be a couple of tiny screws that lock the wiring in place.
#5. Remove Old Plate
You’ll have to unscrew it, but that shouldn’t be an issue.
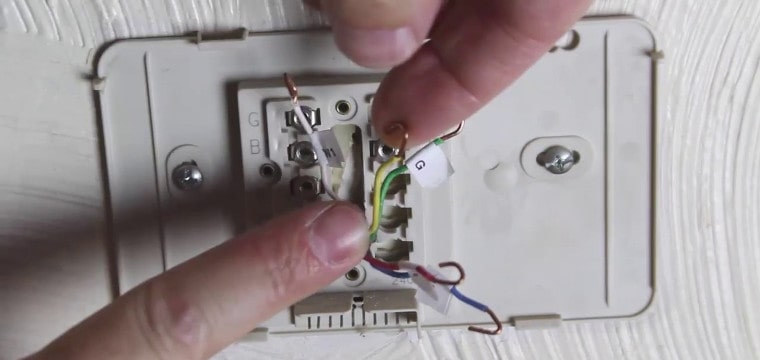
#6. Attach the New Plate & Connect the Wiring
Connecting the wiring is not as complicated as it may seem at first glance. For instance, a Honeywell thermostat has small letters that will help you match receptors with the wires («Y» means Yellow and so forth). It’s worth noting that some thermostats will require you to use a screwdriver once again to lock the wires in place.
#7. Attach the New Face Plate to the Wall
Might need some wall anchors for this step. Otherwise, you’ll just have to screw the face plate to the wall.
#8. Turn the Power Back On
Self-explanatory. Just flip all the switches like you did in #1.
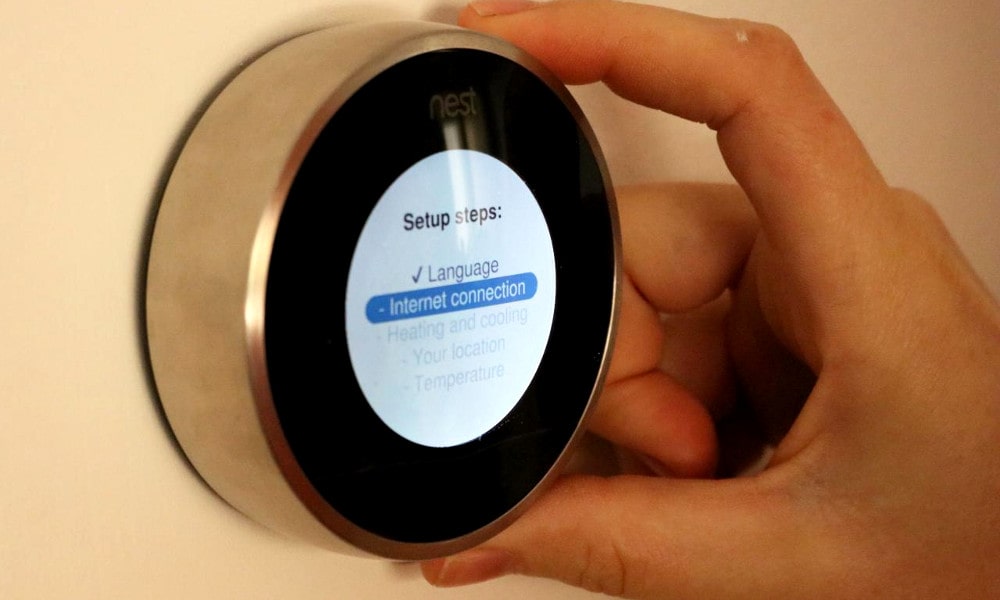
#9. Program your New Thermostat
The easiest step of them all. Most new thermostats utilize a special, easy-to-use app that helps you control the temperature in the house. You will figure it out.
Miscellaneous Thermostat Questions
Q: How to reset a Honeywell thermostat?
Turn it off, remove the batteries and insert them backwards. Wait for a minute or so before removing the batteries and inserting them once again, the correct way.
Q: How to change a battery in a Honeywell thermostat?
All you have to do is remove the old batteries before inserting two brand-new AA batteries.
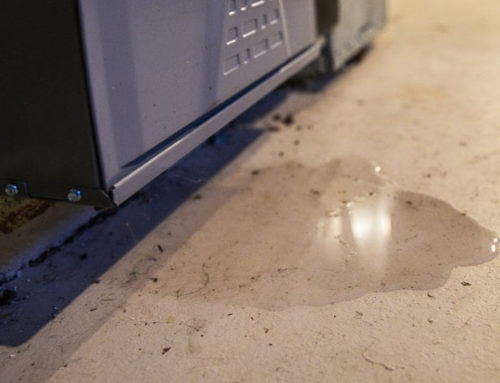
Q: I’m experiencing extreme temperature swings. Is the thermostat to blame?
It might be the culprit, but it’s hard to tell without looking at it. What you have to do is remove thermostat’s face plate and adjust the heat anticipator. If that doesn’t solve your problem, you might thermostat might not be at fault here.
Q: My thermostat doesn’t control temperature, what do I do?
There are many ways you can solve this problem, depending on its root cause. You can try to reset it, you can remove dust/dirt from it, you can see if there’s any corrosion within the wiring, etc. Best-case scenario here is you hiring someone to take a look at it.
If you’re not 100% sure that you’ll be able to do it, get in touch with Ace Air by dialing our number: 714-786-8225. We are available 24/7!
In all honesty, having a professional replace your thermostat for you is the most economical solution because if you’re not as capable as an experienced technician, you can severely damage the existing thermostat or the whole HVAC system, render the new one absolutely unusable or, God forbid, sustain an injury in the process.